A Step-by-Step Guide to Installing LED Neon Flex: Brighten Your Space with Ease:
LED neon flex lighting has become increasingly popular due to its versatility, energy efficiency, and vibrant illumination. Whether you're decorating your home, business, or event space, LED neon flex offers a modern alternative to traditional neon signs. The best part? Installing LED neon flex is easier than you might think. In this comprehensive guide, we'll walk you through the simple steps to install LED neon flex and brighten up your space effortlessly.
Step 1: Gather Your Materials
Before you begin the installation process, make sure you have all the necessary materials on hand:
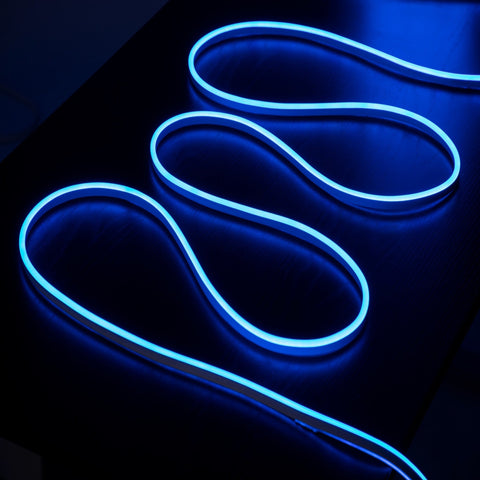
- LED neon flex lighting strips
- Mounting clips or brackets
- Power supply and controller (if applicable)
- Connectors and extension cables (if needed)
- Drill and screws (for mounting)
Step 2: Plan Your Layout
Take some time to plan where you want to install your LED neon flex lights. Consider the desired pattern, shape, and placement of the lights. Measure the area where you'll be installing the lights to ensure you have enough LED neon flex to cover the space.
Step 3: Prepare the Surface
Ensure that the surface where you'll be mounting the LED neon flex is clean, dry, and free from any dust or debris. Cleaning the surface beforehand will help the adhesive backing on the LED neon flex strips adhere properly.
Step 4: Mount the LED Neon Flex
- Carefully peel off the adhesive backing from the LED neon flex strip.
- Position the LED neon flex strip along the planned route, pressing it firmly onto the surface.
- Use mounting clips or brackets to secure the LED neon flex in place, especially around corners and curves.
- If mounting vertically or upside down, ensure the LED neon flex is securely fastened to prevent sagging.
Step 5: Make Connections
If you're using multiple LED neon flex strips or need to connect extension cables, follow these steps:
- Use connectors to join LED neon flex strips together. Ensure a secure connection to avoid any interruptions in the lighting.
- Connect extension cables to bridge any gaps between LED neon flex strips or to reach the power supply.
- Double-check all connections to ensure they are secure and properly aligned.
Step 6: Connect to Power
- Connect the LED neon flex lighting to the power supply according to the manufacturer's instructions.
- If your LED neon flex lights come with a controller, connect it to the power supply and follow the setup instructions for adjusting brightness, color, and effects.
Step 7: Test the Lighting
Before finalizing the installation, test the LED neon flex lights to ensure they are functioning correctly. Turn on the power supply and controller (if applicable) to check for any issues with connectivity or illumination.
Step 8: Enjoy Your Illuminated Space
Congratulations! You've successfully installed LED neon flex lighting in your space. Step back and admire the vibrant glow of your new lighting installation. Whether it's adding ambiance to a room, enhancing your storefront, or setting the mood for an event, LED neon flex lights offer endless possibilities for creative expression.
Conclusion:
Installing LED neon flex lighting doesn't have to be complicated. With the right materials and a simple step-by-step approach, you can brighten up any space with ease. Whether you're a DIY enthusiast or a professional installer, LED neon flex provides a flexible and energy-efficient solution for adding stunning illumination to your home, business, or event. So, unleash your creativity and let LED neon flex light up your world!